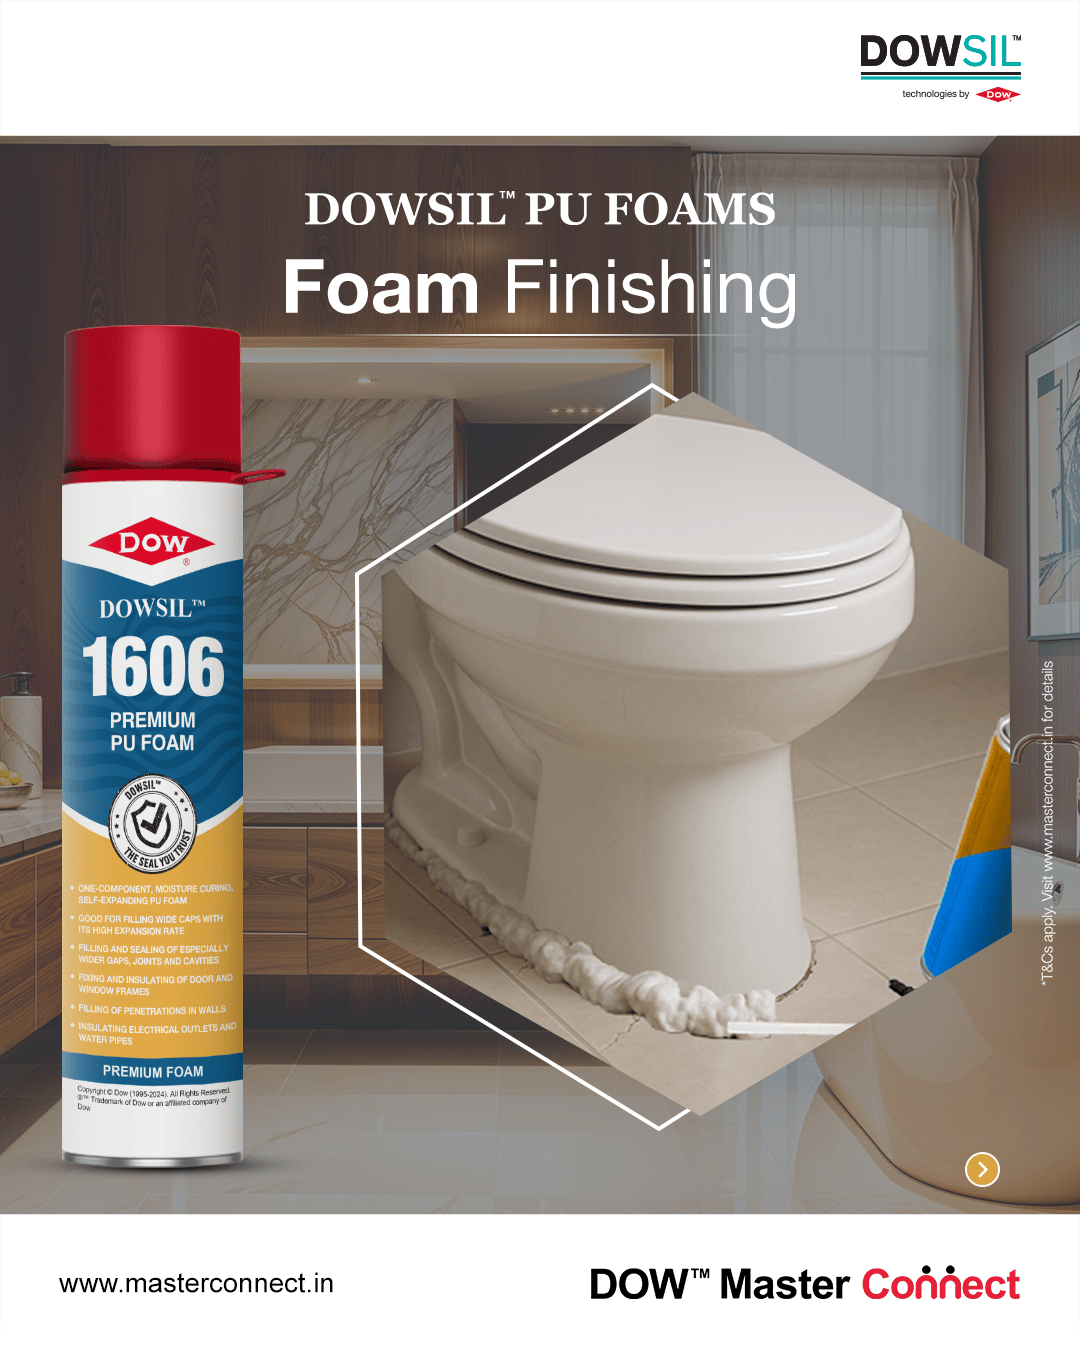


DOWSIL™ 1606 Premium PU Foam
In Stock
MRP ₹1,000.00
Product Information
Product Features & Benefits:
- One-Part
- Neutral-Cure
- UV Resistant
- Durable and long lasting
- Strong weather resistant seal
- Adhesion to uPVC and cementitious substrates
Applications:
DOWSIL™ 1000 All Purpose Weather Sealant is a One-part neutral moisture-cure silicone sealant that can be widely used for sealing:
- Low shrinkage
- Ease of application – ready to use as supplied
- Non sag; can be applied to vertical and overhead surfaces
- Perimeter sealing of gaps around doors, window frames and masonry.
- uPVC and the alkaline substrates like cement based plastered unprimed substrates.
Product Properties:
- Optimum tack free time for better tooling capability
- Temperature stability is between 40◦C to 150◦C
- In general, sealant requires curing time of 7-14 days
Shelf Life: 12 months from the date of production
Storage: Store in cool, dry conditions below 32°C (90°F) in the original containers
Country of Origin: South Korea
Handling Precautions & Limitations
DOWSIL™ DC-1000 Silicone Sealant is neither tested nor represented as suitable for medical or pharmaceutical uses. Before handling, read the separate Material Safety Data Sheet (MSDS) and container label for safe use, physical and health hazard information. This product is –
- Not for structural glazing applications
- Not paintable
- Not suited for prolonged submersion in water or below-grade applications
- May not adhere to oily woods
- May not be compatible with substrates made of methyl methacrylate, polycarbonate, polypropylene, polyethylene and polytetrafluoroethylene
- Not suitable for surfaces that might bleed oils, plasticizers or solvents
- Not suitable for porous surfaces such as cement-like materials, stone or surfaces prone to attack by weak acids
- Need to check for compatibility with natural stones, plastics before application
- Do not clean or treat the sealant with materials, solvents or leaning agents that may affect or discolor the sealant, particularly during
- This sealant has not been tested to determine status under U.S. Food and Drug Administration regulations.
- Not recommended for direct contact on the reflective coatings on mirrors
- May not cure properly if used in spaces confined from atmospheric moisture
- May cause corrosion on some brass, copper, zinc or zinc alloy-containing fixtures (galvanized)
- Not for use where there is abrasion or physical damages


